There’s a saying with expensive hobbies, “Buy nice or buy twice.” In some cases, I’ve found that to be true, but as a beginning backpacker, it just didn’t make sense to blow a bunch of money I didn’t have on expensive gear before I even knew if I liked backpacking!
Over time, I have upgraded from a huge synthetic sleeping bag to a down quilt, and a lighter weight hammock tarp, but many of my favorite pieces of gear are innovative little tools that make my life much easier, and don’t cost all that much.
Links in this blog will connect you to Amazon except for the namaclaws, snake skins, and navigational apps. Most of this stuff is available through REI, Moosejaw, and other outdoor outfitters, too.
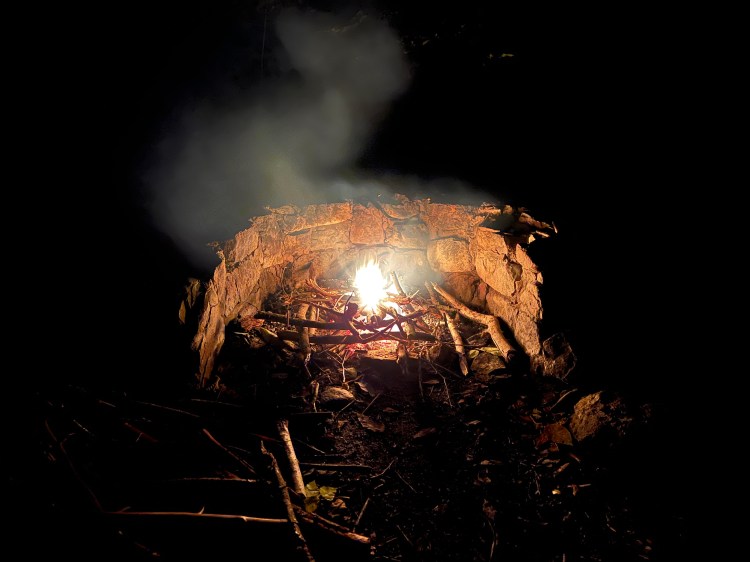
Fire starting:
Pocket Bellows: When I use this tool, I feel like a dragon! It’s a collapsible metal tube that focuses your breath (oxygen supply to the fire) wherever you point it, so you can encourage a spark to become a flame. It’s great for starting fires in adverse conditions, or in a confined space, such as the wood stoves in many of the Michigan DNR’s rustic cabins.
EZ Reach Bic lighter: These are the mini version of the firestick you probably use at home to light your grill. Not much bigger than a regular Bic lighter, these allow you to keep the flame ignited for an extended period of time without burning your fingers, and give you a few more inches of safety away from the fire you’re hoping to start.
Firestarter: You don’t need to buy anything. Collect some birchbark from the ground, some dry pine cones, and peel open a few dead twigs.
Cooking:
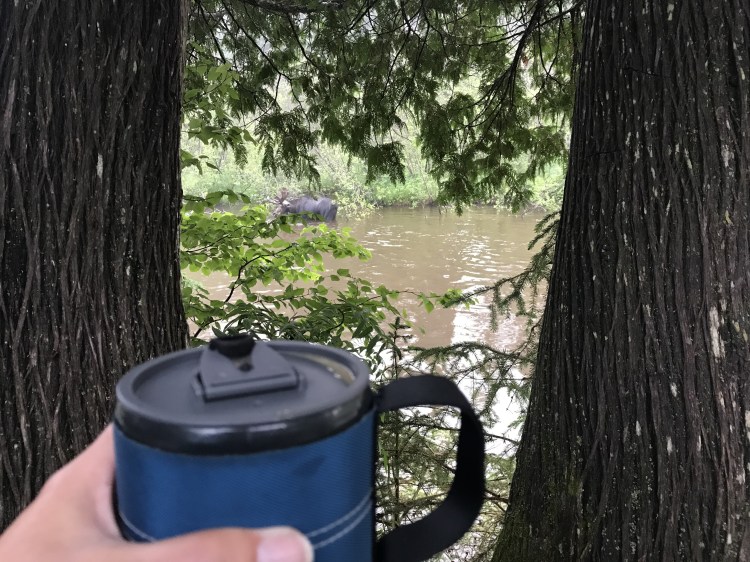
GSI Outdoors insulated mug: This mug fits in my hand as comfortably as my favorite pottery mug at home. It keeps my coffee warm, and doesn’t burn my hands. It’s not tippy. There’s a reason you see these all the time on group backpacking trips–they’re awesome!
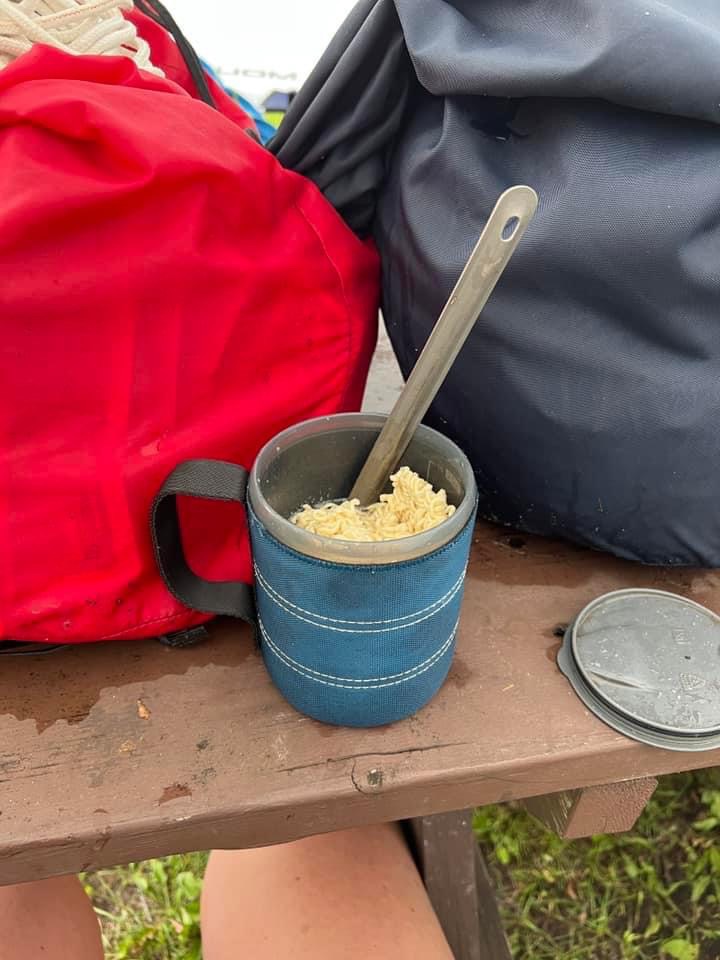
Toaks titanium spoon: Disclaimer: This is an expensive spoon. But it’s worth it. Its length keeps you from getting your hands dirty while you’re foraging for that last bit of lasagna goodness at the bottom of your Mountain House bag. Maybe add a little loop of bright cord at the end so that it doesn’t blend in with your surroundings and get lost. If I had this one to do over, I might purchase their spork, as it would probably be easier to eat ramen!
Fuel canister refill adapter: How many partially full fuel canisters are rolling around your backpacking gear bin? I hate to risk taking a partially full one, and definitely don’t want to carry two partially full canisters. This gadget allows you to consolidate the fuel from one to the other, so two half fulls become a whole. This works best when you can chill one canister in the freezer and warm the other in the sunshine, but I feel like I could work some magic on Isle Royale, making use of the partially full canisters left in that crate by the store because people can’t take them on the seaplane. Because this gadget costs $23 dollars at present, it’s not exactly going to earn its keep immediately, but might be good to share amongst friends. Since I work at a summer camp that does wilderness trips four weeks of the summer, this little devil made its way into my heart immediately!
Socks:
Sealskinz waterproof socks: These are the most expensive socks I’ve ever purchased. But, they’ve allowed me to get more life out of boots that are no longer waterproof. They do take up a fair amount of space, so I generally can’t wear a liner sock with them, but for shorter hikes and lower mileage backpacking trips, they have been great.
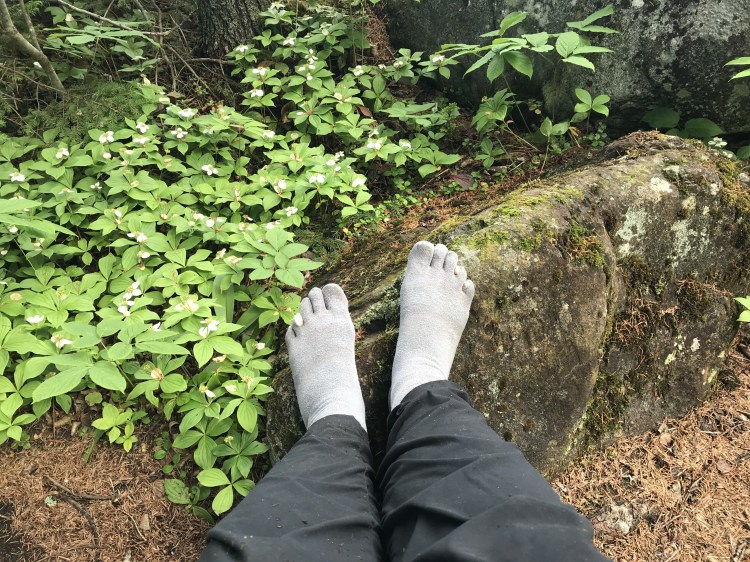
Injinji wool toe socks: I have a tendency to get blisters on the inside edges of my last two toes, no matter what shoes or boots I’m wearing–it’s just the way my feet are shaped. To get a little extra space between my toes to prevent these blisters, I’ve been using the Injinji toe sock liners. They are a pain to put on, and look kind of strange, but they help immensely with my blister issue. While they are available in a variety of blends, my favorite is the wool version, because they don’t get smelly on multi-day trips.
For summer day hikes, I often use Injinji’s runner’s mini-crew alone. It’s thick enough to provide cushion, and still helps to keep my toes from blistering.
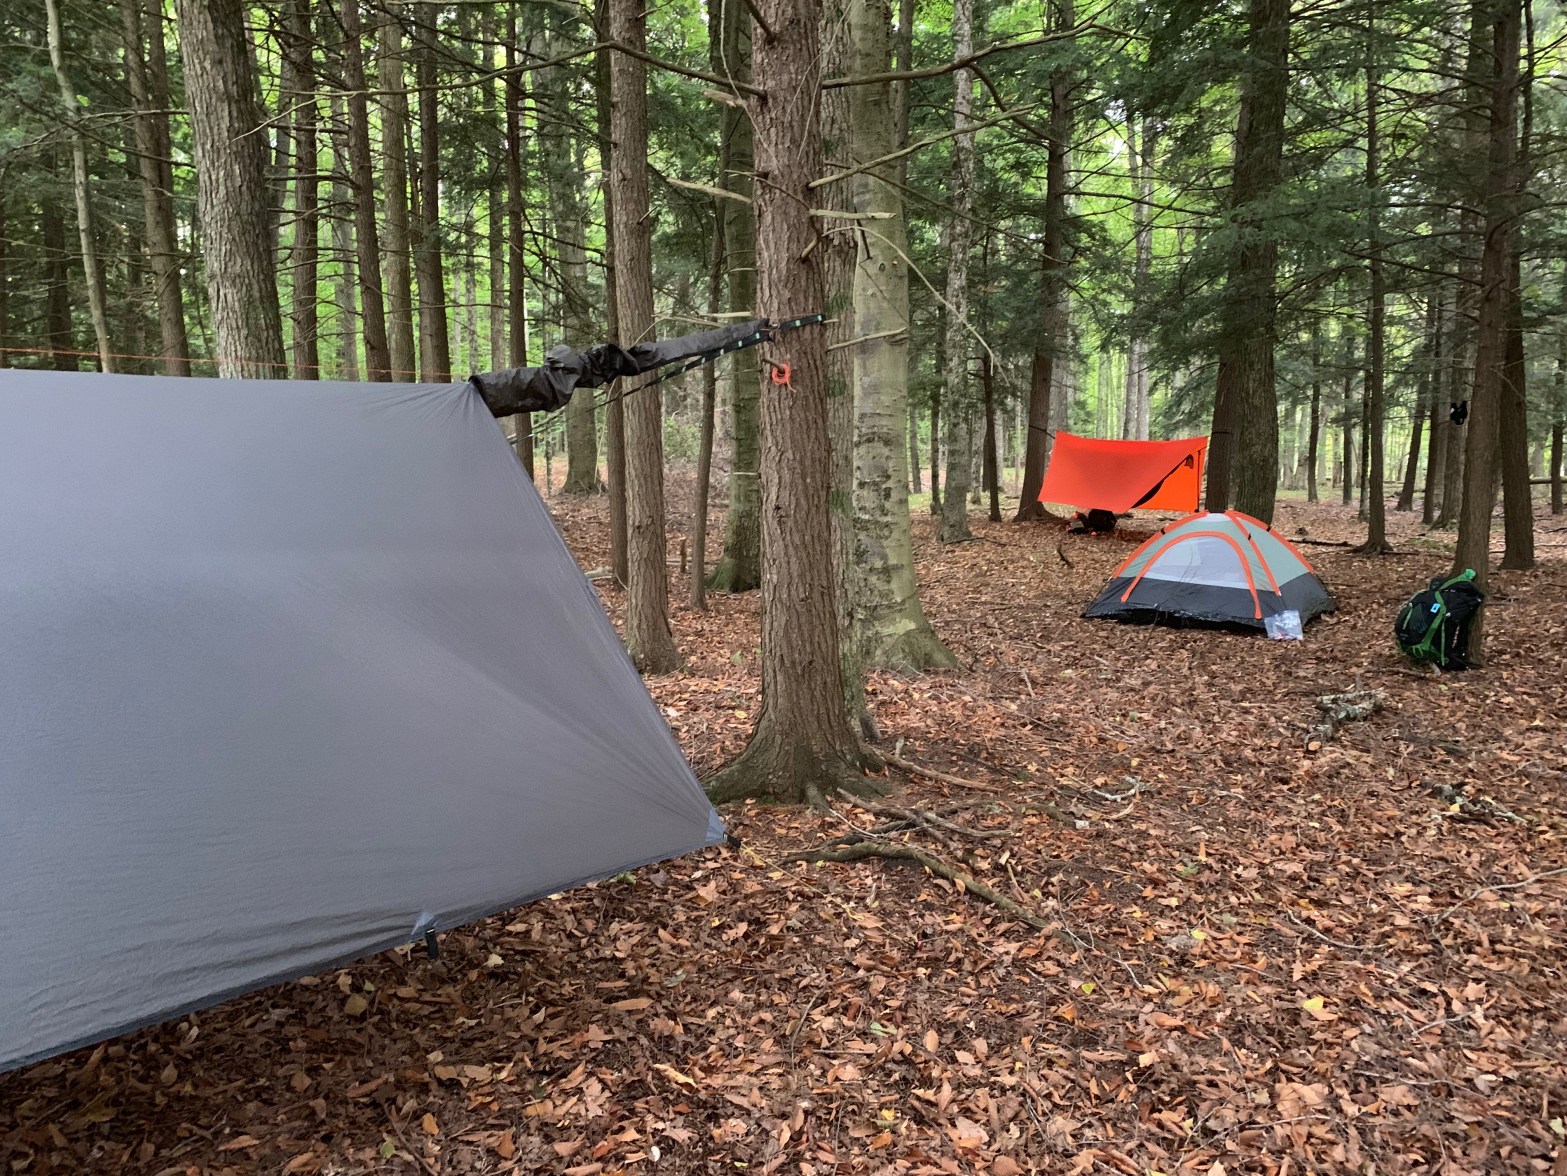
Hammock equipment:
Hammock tarp ridgeline made with 1.75mm dyneema line with Nama Claws: Trying to center a tarp over a hammock isn’t the easiest thing, but Nama Claws strung on your ridgeline allow you to move the tarp back and forth on the ridgeline easily until you’ve got it where you want it. At $3 apiece, it will be the best 6 bucks you’ve ever spent on your hammock set up. Just be sure to knot or otherwise finish the ends of your ridgeline so they don’t slide off!
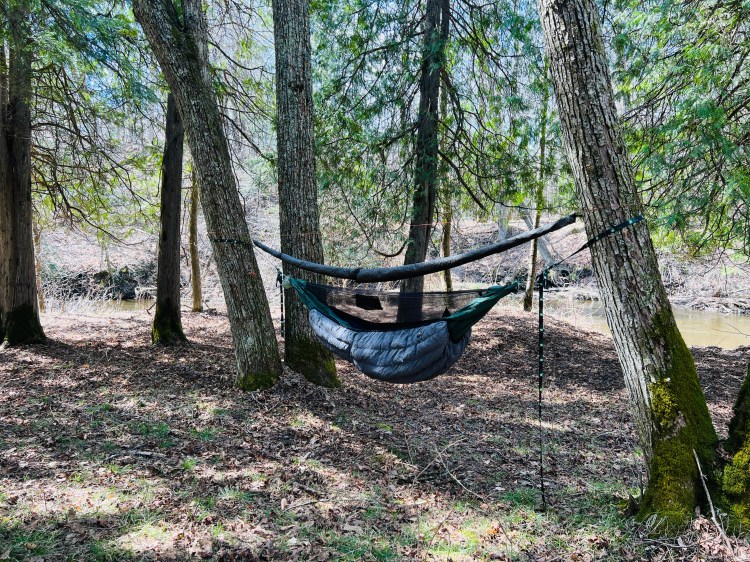
Snake Skins: One of the things I love about hammocking is sleeping under the stars without a tarp. But, if it starts to rain, I want to be able to launch my tarp fast! When I hang my hammock and tarp, I use snake skins to hold the tarp in place on the ridgeline, and if I need to deploy it quickly, I can just pull back the snake skins and stake the tarp down. It’s also a good way to contain a wet tarp when packing up.
Navigation:
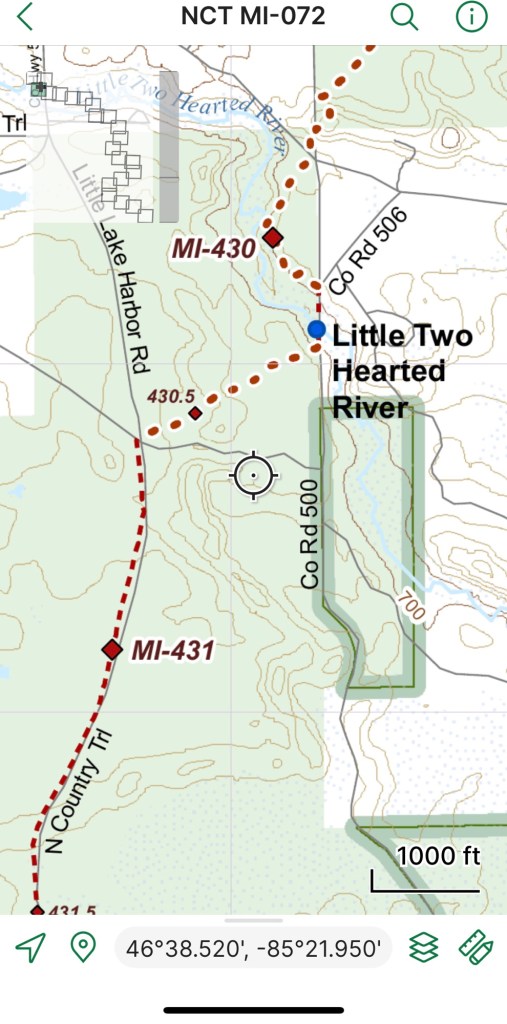
Avenza App: For hiking the North Country Trail, Avenza is the best! You can use it in airplane mode, record your track, and see a detailed map of the NCT, including what is trail (ovals) and what is roadwalk (rectangles) on the red dotted line that denotes the NCT. It also shows parking areas, campgrounds, public land for dispersed camping, and other helpful information. (When using in the U.P., keep in mind that “parking area” is sometimes used loosely, and road quality to get there can be questionable.)
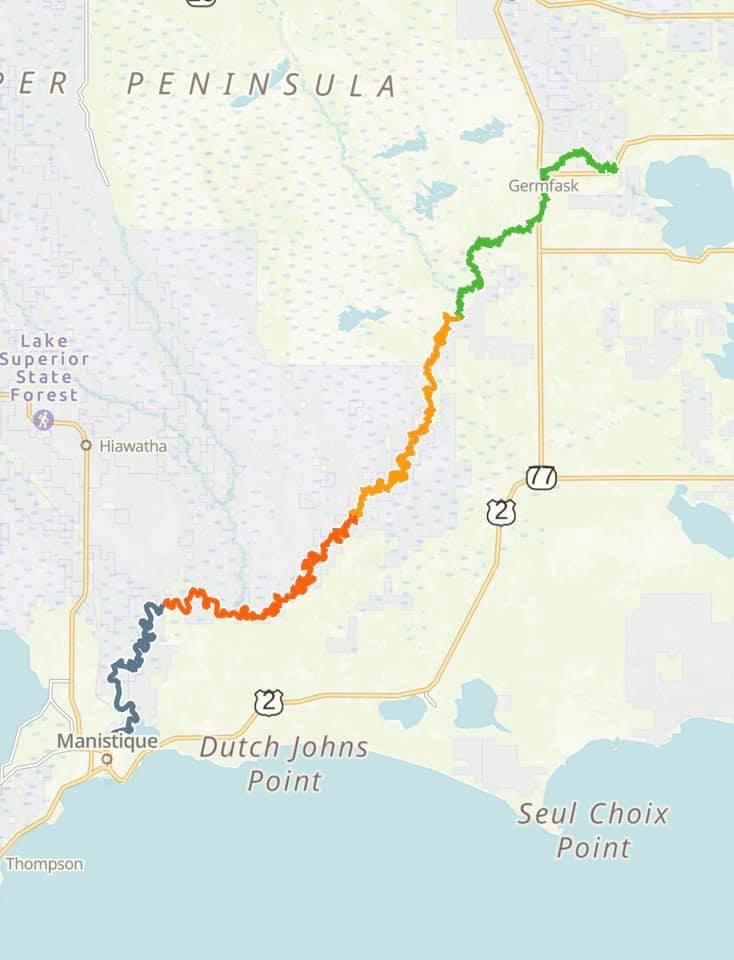
Gaia App: Like Avenza, this app can be used in airplane mode to record tracks, and as long as you download maps before leaving wifi-land, it will provide several varieties of maps, providing great detail. It can also be used for route-finding, which is helpful when your car is parked in the middle of nowhere and you’re not sure how to begin your drive home! There is a free version, and several tiers of paid service, one of which is tied to the Outside magazine and website, which has a lot of good content.
A print road atlas. My favorite is no longer available so I’m not providing a link, but I can’t stress enough how helpful it is to have a road atlas that shows whether roads are paved, gravel, seasonal, etc. Often, navigation apps will suggest some pretty questionable routes because the mileage is shorter. But, shorter mileage is not always quicker, especially if you get stuck. It’s a good idea to compare your navigation app’s suggestion to your road atlas. As for me, I have a “No dotted line roads” policy based on experiences using both Google Maps and my trusty road atlas, because those dotted line roads are usually only suitable for a Jeep Jamboree. For more on this, check out an earlier blog: “Getting to the Trailhead”
